 |
| Beaded fish charm |
To make this fish you will need:
2 X Black beads
36 X White beads
29 X Coloured beads
1.5m of fishing wire
You can use any size beads to make this but just make sure that they are all the same size. The beads I used were 4mm beads.
 |
| Diagram-the main body |


1. Start with the mouth. Thread four coloured beads onto the fishing wire and make sure that the group of beads fall to the centre of the wire making sure you have equal lengths of thread at both ends. Thread both ends of the wire through one of the coloured beads.
 |
| Step 1-four coloured beads |
2. Add four white beads onto one end of the wire
 |
| Step 2-add white beads |
Again thread both ends of the wire through the last white bead.
 |
| Create a 'loop' |
Continue adding beads onto the thread as indicated on the diagram, each 'loop' should consist of 5 beads in total.
 |
| Threading beads as indicated on the diagram |
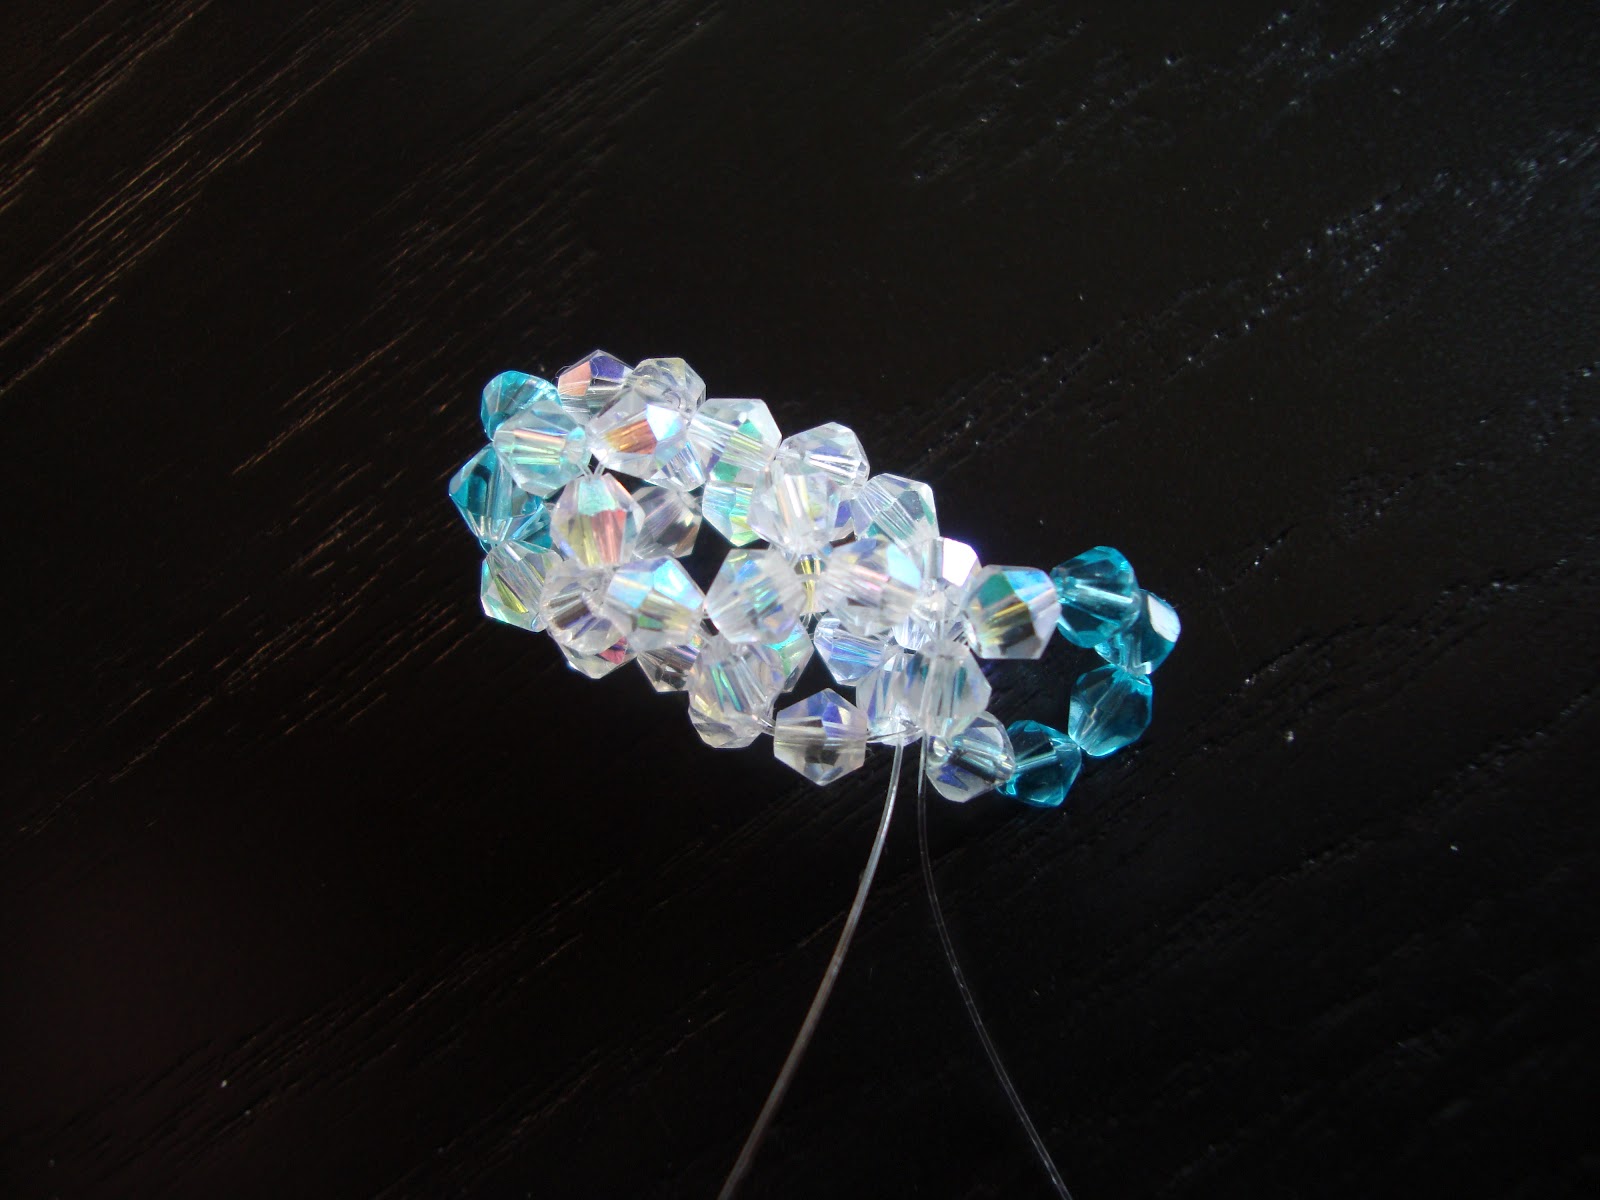
3. Ok, now you have step two completed, continue threading beads onto the thread. In step three the 'loops' should consist of 6 beads, and the thread should combine 2 beads from the 'loops' you completed in step 2.
 |
| Step 3-the main fish body |
Once you have completed step 3 most of the fish body has been made.
4. To complete the fish body we go back to creating 'loops' that consist of 5 beads. Again this step involves threading the wire through two of the beads you created in the last step.
 |
| Step 4-the main fish body, completed! |
5. Next the tail fin. This is created by 1 white bead onto one end of the fishing wire followed by 4 coloured beads and finished by 1 white bead on the end. Continue as indicated on the diagram (5. Tail Fin)
 |
| Step 5-part of the tail fin |
 |
| Completed tail fin! |
6. Next thread the fishing wire through the existing beads to either side of the fish body (as indicated on the main body diagram). Add 3 coloured beads to the fishing wire.
 |
| Step 6-one fin added |
 |
| Two fins added |
Thread the fishing wire to either side of the fish towards the 'eye sockets' (see diagram) and add a black bead.
 |
| Fish eyeballs |
7. The final part is to add the dorsal fin. Again thread the fishing wire to the area indicated on the main fish body diagram and add 3 coloured beads.
 |
| Step 7-the dorsal fin |
Once you have done this, use one end of the fishing wire around one 'loop' of beads so that the wire meets directly and allows you to tie a double knot. Once you have done this thread the ends of the wire through the beads to strengthen the main body of the thread and cut the remaining ends. (This ensures that there is less chance of the wire unraveling making the fish a bit sturdier).
 |
| Finished! Mobile phone fish charm |
No comments:
Post a Comment